What an assistant can do
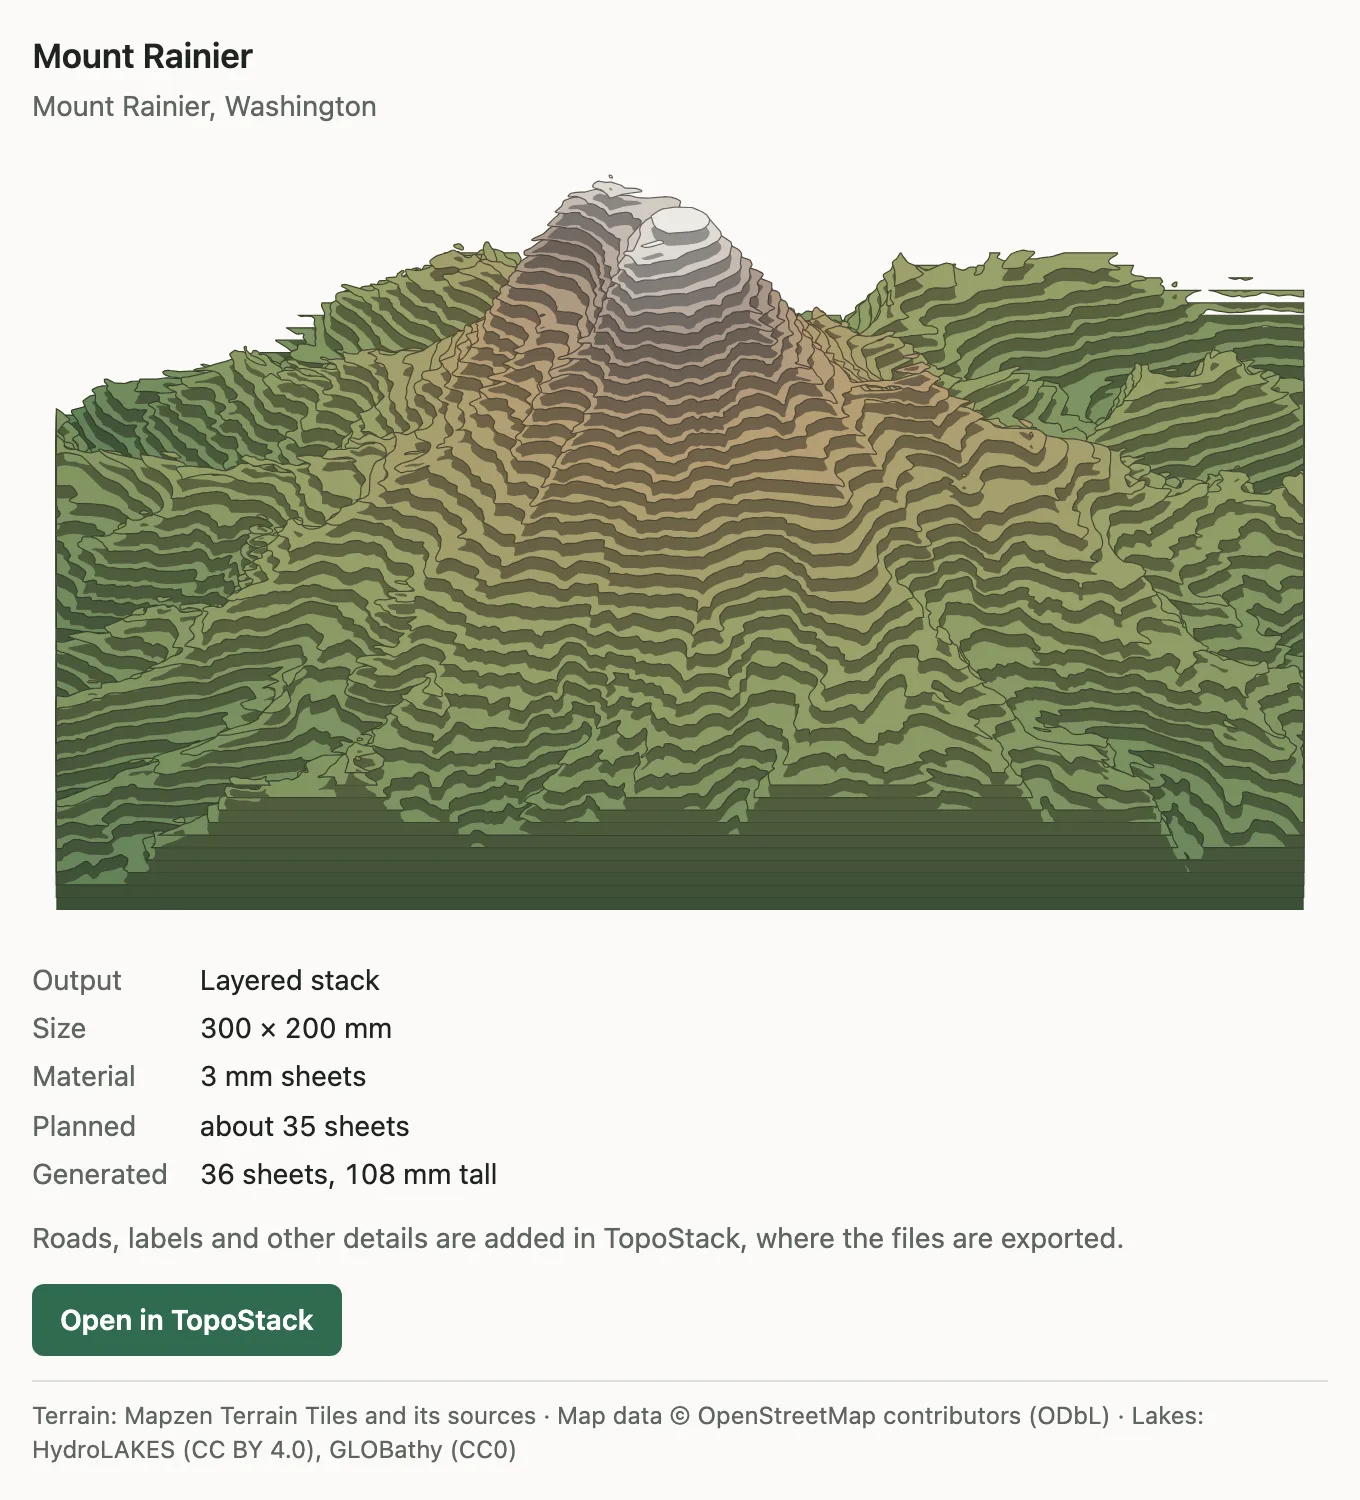
TopoStack publishes a Model Context Protocol (MCP) server at https://topostack.app/mcp. Once your assistant is connected, you can ask for things like “a 300 × 200 mm layered map of Mount Rainier in 3 mm plywood” or “a flat engraving of Lake Tahoe that fits a 400 mm bed”. The assistant can:
- search for a place and suggest how much ground to show;
- check which high-resolution terrain and lake surveys cover it;
- plan the model: sheet count, stack height, scale and elevation range for layered output, or the contour interval for a flat engraving;
- show a preview of the model in the conversation, built from real terrain in your browser, where your assistant supports interactive apps;
- give you a studio link. Opening it loads the design and generates it straight away.
Planning uses a coarse sample of the terrain, so the sheet count is an estimate. The count the studio shows after generating is the one you cut; they usually agree within a sheet or two, and lake depth can add sheets below the shoreline.
Connect your assistant
No account or key is needed. Menu names change between app versions; look for connectors, integrations or MCP servers.
- Claude (claude.ai and the desktop app): add a custom connector with the URL
https://topostack.app/mcp. - ChatGPT: add a connector or app for a remote MCP server with the same URL, where your plan allows custom connectors.
- Claude Code: run
claude mcp add --transport http topostack https://topostack.app/mcp. - VS Code: add the server to
.vscode/mcp.json:
{
  "servers": {
    "topostack": {
      "type": "http",
      "url": "https://topostack.app/mcp"
    }
  }
}- Cursor and other clients that read an
mcpServersfile:
{
  "mcpServers": {
    "topostack": {
      "url": "https://topostack.app/mcp"
    }
  }
}
From the link to your laser
- Open the studio link the assistant gives you. The design replaces the one you had open, and Undo brings yours back.
- Wait for the terrain to generate, then check the 3D preview and the layer count.
- Adjust anything you like: roads, labels, markers, fonts and custom graphics are all in the studio.
- Choose Export for the SVG files. See export files for what each download contains.
Assistants can misread a place name or pick an area that is too small or too large. Check the map area and size in the studio before you cut, and cut one layer as a test.
Browser agents in the studio
Agents that drive a browser tab, such as Chrome's built-in agent or Claude in Chrome, can use the studio directly where the browser supports WebMCP. The studio then offers tools to read the design, search for a place, change the size, output, material and details, generate, undo, and open the export dialog. Every change is an ordinary undo step, and the agent can open the export dialog but never downloads files for you. In Chrome, WebMCP is currently experimental and has to be switched on. See use a browser agent in the studio for the tools and how to try them.
For developers
The same operations are available over HTTP, described by the OpenAPI document at https://topostack.app/v1/openapi.json. For example, to plan a model:
curl -X POST https://topostack.app/v1/projects/plan -H 'content-type: application/json' -d '{"requestVersion":1,"area":{"center":{"lat":46.8523,"lon":-121.7603},"widthKm":20},"placeLabel":"Mount Rainier","materialThicknessMm":3}'Requests are anonymous and rate limited. Nothing is generated or stored on a server: the response's studio link carries the whole design, and files are made in the browser.
The MCP server reference lists every tool, resource and prompt, the error codes and the rate limits. The project request and HTTP API reference describes each request field, studio links and the HTTP routes.
Data and credit
Every response includes attribution for the terrain, map and lake data it used, and anything you share from it should keep that credit. The full list of sources and licenses is on the attribution page. Your conversations stay with your assistant; TopoStack receives only the requests the assistant sends, as described in the privacy notice.