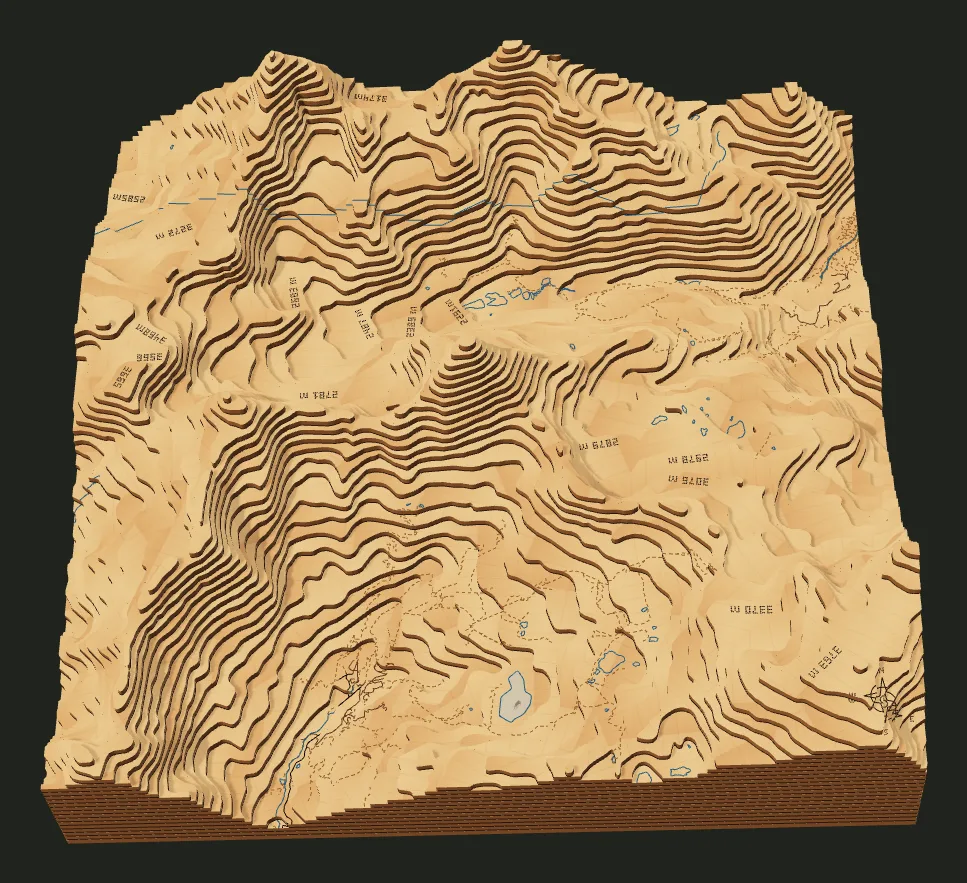
The project
| Cut size | 300 × 300 mm (11.8 × 11.8 in) |
|---|---|
| Material | 3.175 mm (1/8 in) sheets |
| Vertical exaggeration | 1.5× |
| Elevation range in the frame | 2,748 m |
| Layers | 28, 88.9 mm (3.5 in) tall |
Why these settings
- Alpine relief is already steep, so exaggeration stays modest to keep the summit from turning needle-thin.
- A square frame keeps the peak central with room for the surrounding ridges.
Make it yourself
- Download the project file. It holds the map area and every setting above.
- Open the studio and choose Import project JSON next to the project name.
- Select Generate terrain. Fresh data can change the layer count slightly from the one listed here.
- Check the cut layers and 3D preview, then open Export for the SVG cut panels and assembly guide.
To change it, set your own sheet thickness in Terrain layers or a new size in Cut size; the studio recalculates the layers. The layered map guide covers kerf, nesting and assembly, and the engraving guide shows how to make the same place as a flat engraving.